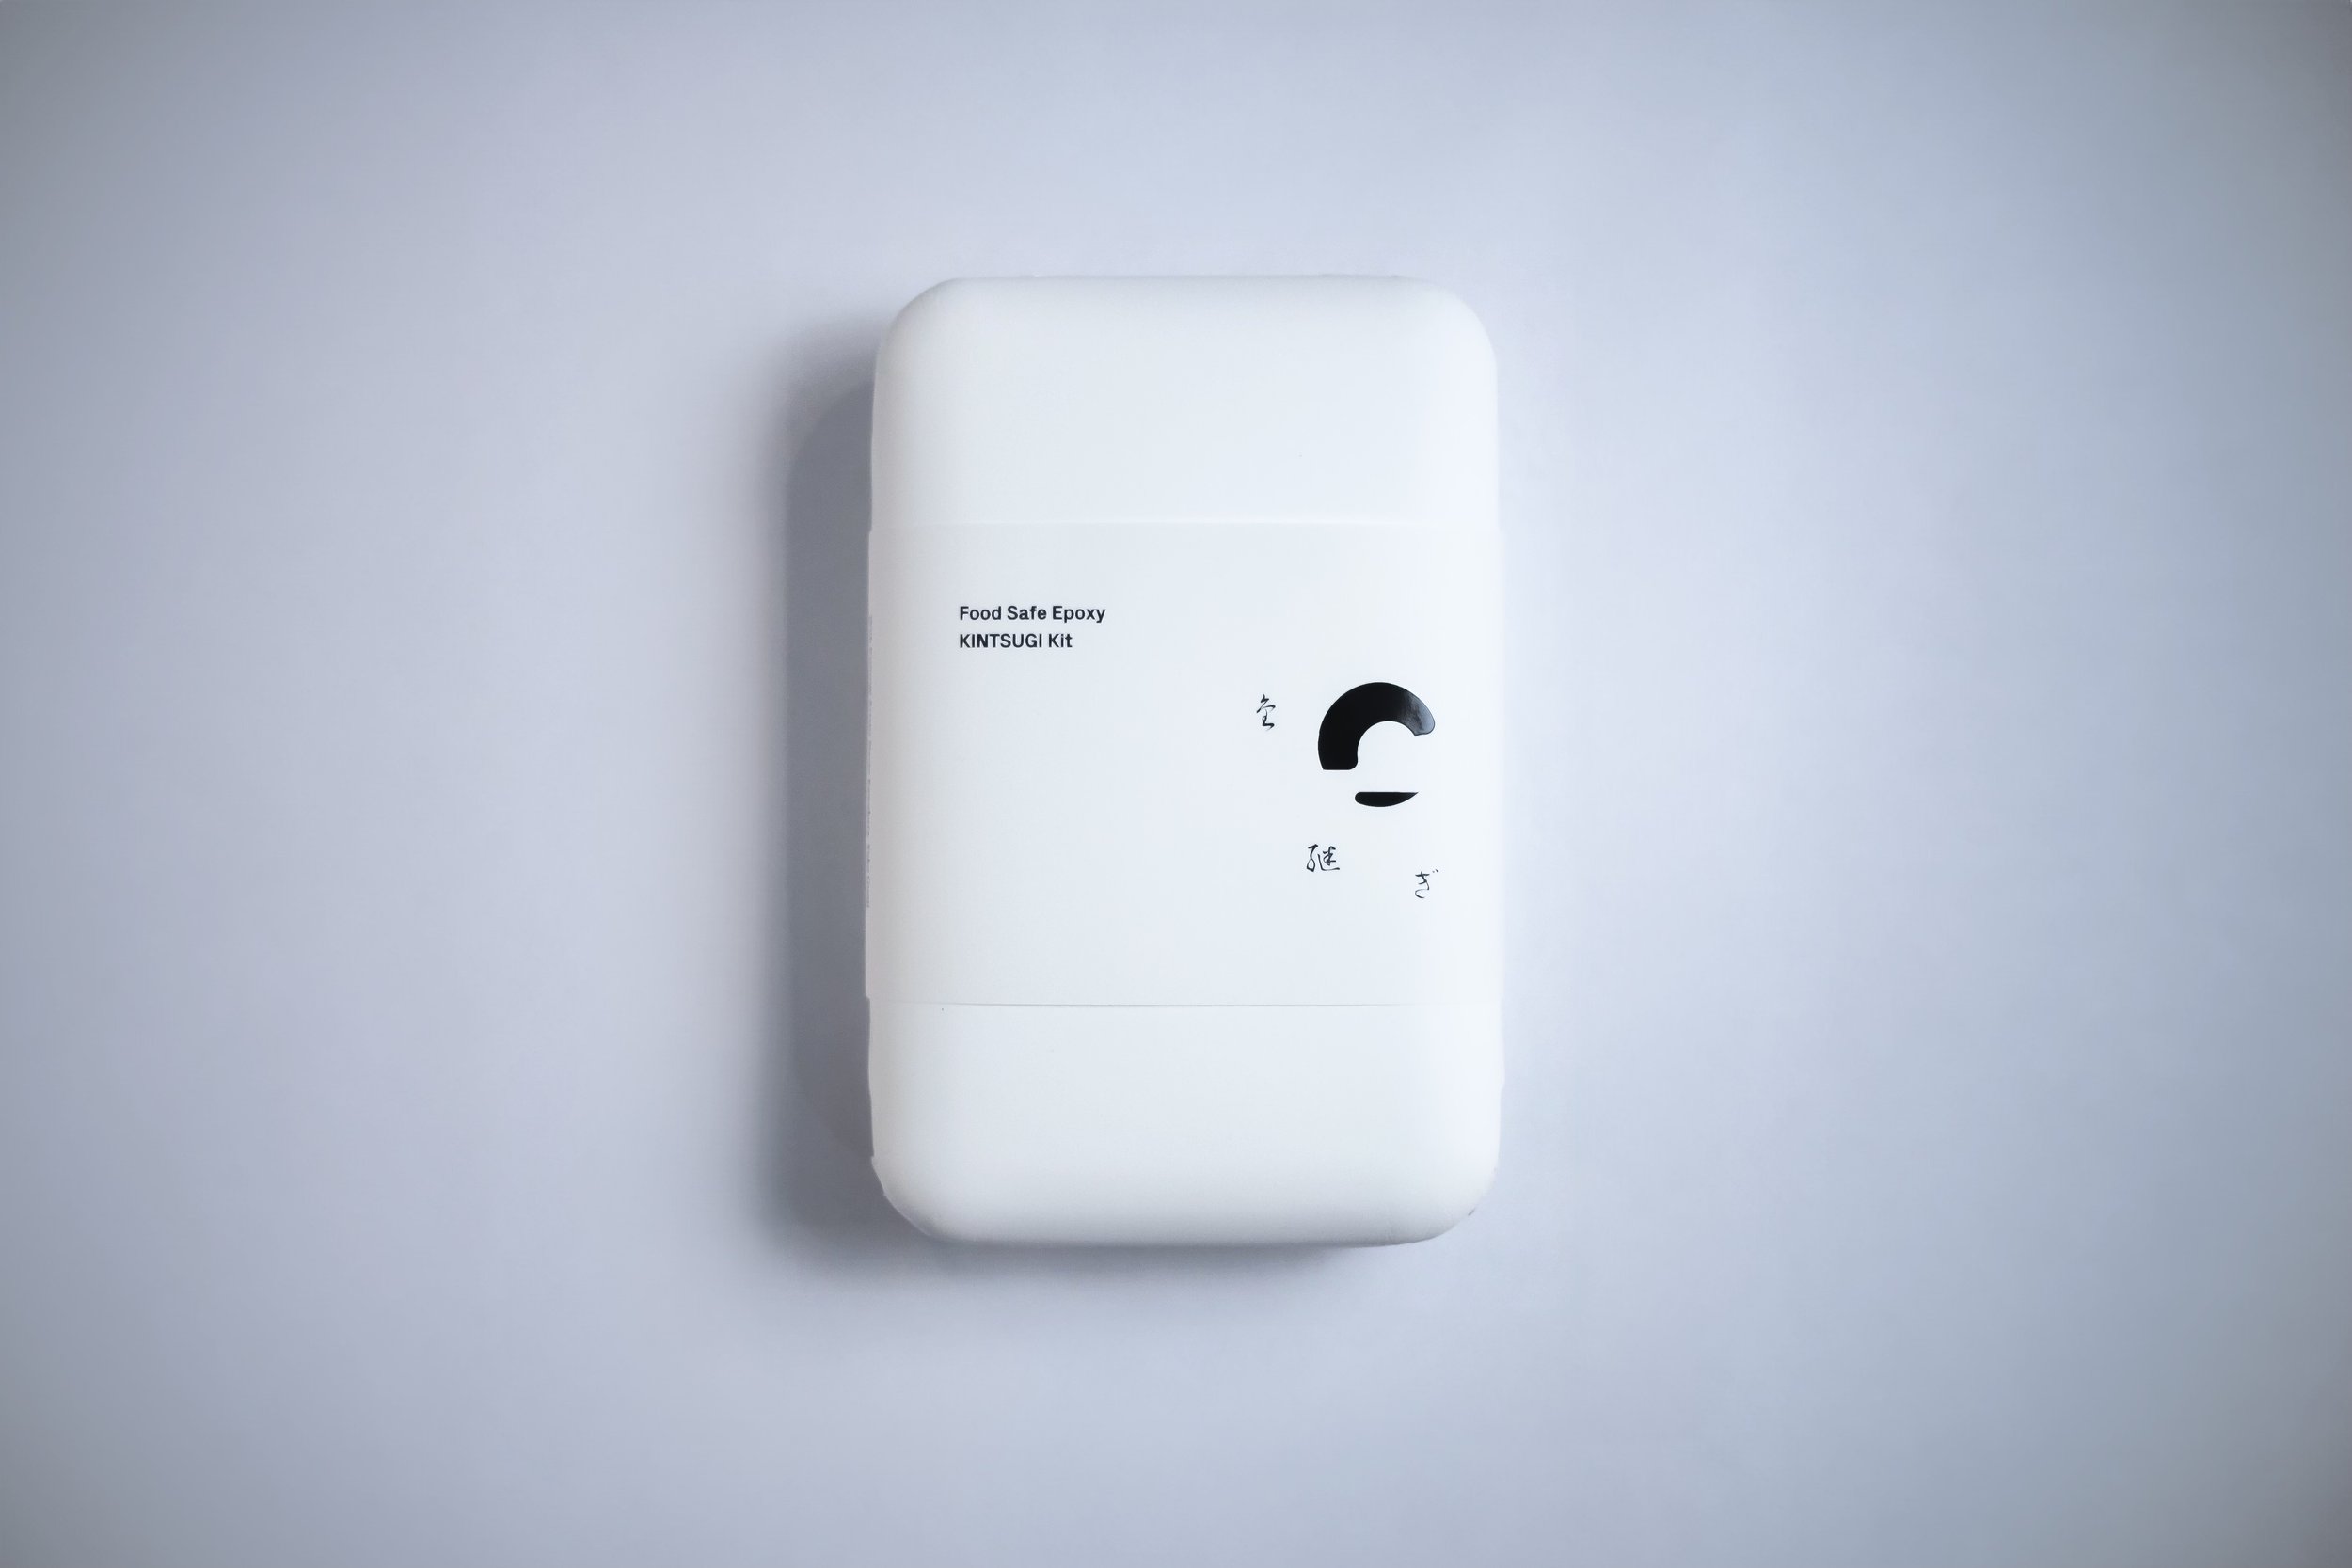
how to use the MODERN kintsugi kit
Step-by-Step Video Guide
MOCO modern kintsugi kit
-moco / 慕古-
Embracing the past, learning from its lessons, and creatively applying its wisdom to the present.
単に古いものを慕うだけではなく、教えから学び、工夫を凝らして現在に生かし実践していくこと。
Kintsugi is a traditional Japanese craftsmanship that involves repairing cracked ceramics or damaged artworks using lacquer, adorned with gold, silver, or other metal powders or shells. This technique doesn't conceal the flaws but regards them as the allure of imperfection, transforming them into art with exquisite traces of damage. While the traditional process takes up to two months, this kit allows you to complete the repair in just two days, with a curing time of only half a day. Designed with traditional techniques in mind, it ensures a beautiful and authentic finish. The materials included are non-toxic, solvent-free, and safe for use on tableware. Please avoid exposure to alcohol, vinegar, or temperatures above 212°F.
金継ぎは破損した陶磁器などに対し「漆」をはじめとする自然由来の素材を用いて修繕を施し、仕上げに純金などの金属粉で装飾する日本古来の伝統工芸です。傷跡を隠すのではなくそれらを不完全の美として捉え、破損の痕跡も美しいアートに昇華させます。通常、修復には約2ヶ月の時間がかかりますが、このキットではわずか2日間で完成させることが可能です。伝統的な技法を基に設計されており、より本格的で美しい仕上がりをお楽しみいただけます。キットに含まれる材料は、非毒性、溶剤フリーで完成した金継ぎピースは食器としてご使用いただけますが、アルコールや酢、高温(華氏212度以上)の液体などへの接触は避けてください。
INSTRUCTION
Notes: Please be sure to read / 注意事項: はじめにお読みください
•The curing temperature for epoxy is around 75 degrees Fahrenheit. If the room temperature is low, please adjust the time accordingly.
•After finishing the work, please clean the tools such as tiles, spatulas, and brushes with ethanol.
•For repairing only chipped parts, remove the oil with ethanol and then start the process from step 3.
•Depending on the type of ceramics, stains may occur at the joints. Please understand this.
•Objects repaired with kintsugi cannot be used in dishwashers, microwaves, ovens, or direct flames.
•Dust particles can potentially cause respiratory problems, so please avoid inhaling them.
•We cannot take any responsibility for damage to ceramics or accidents, injuries, illnesses, etc., resulting from the use of this product. Please understand this.
STEP1 Preparation
Start by thoroughly mixing equal amounts of resin and hardener on the tile using a spatula. Let this mixture sit for an hour to adjust its viscosity. During this time, clean the area you'll be gluing with a paper napkin dampened with ethanol to remove any dirt or oil.
STEP2 Mending
Next, apply the epoxy glue created in STEP 1 in a thin and even layer onto all the joint surfaces using a spatula. Carefully align the pieces as you glue them together. If there's any excess epoxy that spills over, wipe it away with a paper napkin. In this case, use a small amount of ethanol to aid in removing the excess, but be cautious about the quantity since too much could seep into the joint and compromise the adhesive. Use masking tape, as demonstrated in the photo, to hold the pieces in place while the glue sets.
STEP3 Filling
If no“chips”, go to Step 5.
Surround any chipped areas with masking tape to protect them. Make a putty by mixing the remaining epoxy mixture from Step 1 with base material in a ratio of 1 part epoxy to 3 parts base material by volume. Once the putty reaches a soft, clay-like consistency, use a metal spatula to fill in the chipped section. Allow the putty to cure for a minimum of 10 hours.
STEP4 Forming
Be careful not to allow the sandpaper or tool tip to hit the ceramic surface.
After it's hardened, shape the putty using sandpaper, an iron file, or a blade. (Choose the most suitable tool based on the location of the putty) * Blade is easier to shave if it is held up and shaved off little by little. If the iron file becomes clogged, clean it with a metal brush.
STEP5 Cleaning, Adjustment
Carefully peel off the masking tape. Use a blade to remove any excess epoxy glue that's protruding or adhering to the piece, then clean the surface with ethanol. If there are any uneven areas between the filled putty and the piece, adjust them using an iron file or blade. *Avoid using sandpaper without masking, as it could scratch the ceramic's surface.
STEP6 DECORATING
Make epoxy liquid as in Step 1, and mix epoxy liquid and gold powder at a ratio of “1:1” to make “gold liquid”. Using brushes, apply this mixture to the joints and the areas that need compensation without letting it drip.If there are depressions, apply an additional layer. After application, allow it to cure for a full day before considering it complete. * Use different brushes depending on the area to be painted.* If dents or pinholes are noticeable, apply additional coats after drying.
・エポキシの適正硬化温度は24度前後です。室温が低い場合には、長めに時間調整してください。
・作業終了後は、タイルやヘラ、筆などの道具をエタノールで清掃してください。
・欠けのみの修繕はエタノールで油分を除去した後、Step 3から作業を行ってください。
・陶磁器の種類によっては接合部分にシミが発生する場合があります、予めご了承ください。
・金継ぎした器は、食器洗浄機、電子レンジ、オーブン、直火での利用は出来ません。
・粉塵は呼吸器の障害を引き起こす可能性があるため、吸入しないようご注意ください。
・本製品の使用における破損や事故、怪我、病気などについては一切の責任を負いかねます。予めご了承ください。
STEP1 準備
練板にレジンとハードナーを「1:1」で同量取り出す。ヘラを使ってしっかりと混合し「エポキシ液」を作る。粘度調整の為、ゴミや埃のない場所で1時間程度静置する。待機中、接着する箇所の汚れや油分をエタノールを含ませたティッシュで取り除いてください。
STEP2 接着
次に、Step1で粘度調整した「エポキシ液」を接合面全てにヘラで薄く均一に塗布し、ピースのズレを確認しながら接着。はみ出したエポキシ液をティッシュ等で拭き取り、マスキングテープで固定する。
* ティッシュに少量のエタノールを含ませると拭き取り易くなりますが、接合部に浸透すると接着不良を起こすので使用量に注意ください。
STEP3 補填
“欠け” がない場合はステップ5へ
欠けの周りをマスキングテープで養生する。エポキシ液と母材を「1:3」の割合で混合し「パテ」を作る(柔らかい粘土状)。メタルヘラでパテを欠損部へ補填し10時間以上硬化させる。
STEP4 形成
紙やすりや鉄工ヤスリの先端などは器表面を傷つけやすい為、使用時は十分に注意してください。
硬化後、パテを紙ヤスリや鉄工ヤスリ、ブレードで成形する。(欠損箇所の位置に応じて使い易い道具を選択)ブレードは刃を立て少しずつ水平に削ぎ取るように使用。
* 鉄工ヤスリが目詰まりを起こした場合は金ブラシで清掃してください。
STEP5 掃除、調整
慎重にマスキングテープを剥がし、はみ出している(付着している)エポキシ液をブレードで削り取る。ティッシュや綿棒にエタノールを染み込ませ器表面の汚れを掃除する。補填したパテと陶磁器に段差がある場合は、鉄工ヤスリやブレードで成形。*紙やすりは陶磁器の表面に傷を付けやすいため、養生をしていない状態では使用しないでください。
STEP6 装飾
Step1と同様にエポキシ液を作り、エポキシ液とゴールドパウダーを「1:1」の割合で混合し「ゴールド液」を作る。ゴールド液を筆に含ませ、破損箇所へ塗布する(分厚く塗りすぎると液ダレするので注意)。 塗布後はゴミや埃のつかない場所で24時間以上静置して完成。* 破損部面積に応じて太筆、ライナー筆を使い分けてください。* 凹みやピンホールが目立つ場合は乾燥してから重ね塗りを行ってください。
